Creating Melt and Pour Soap Using a Mold: A Step-by-step Guide
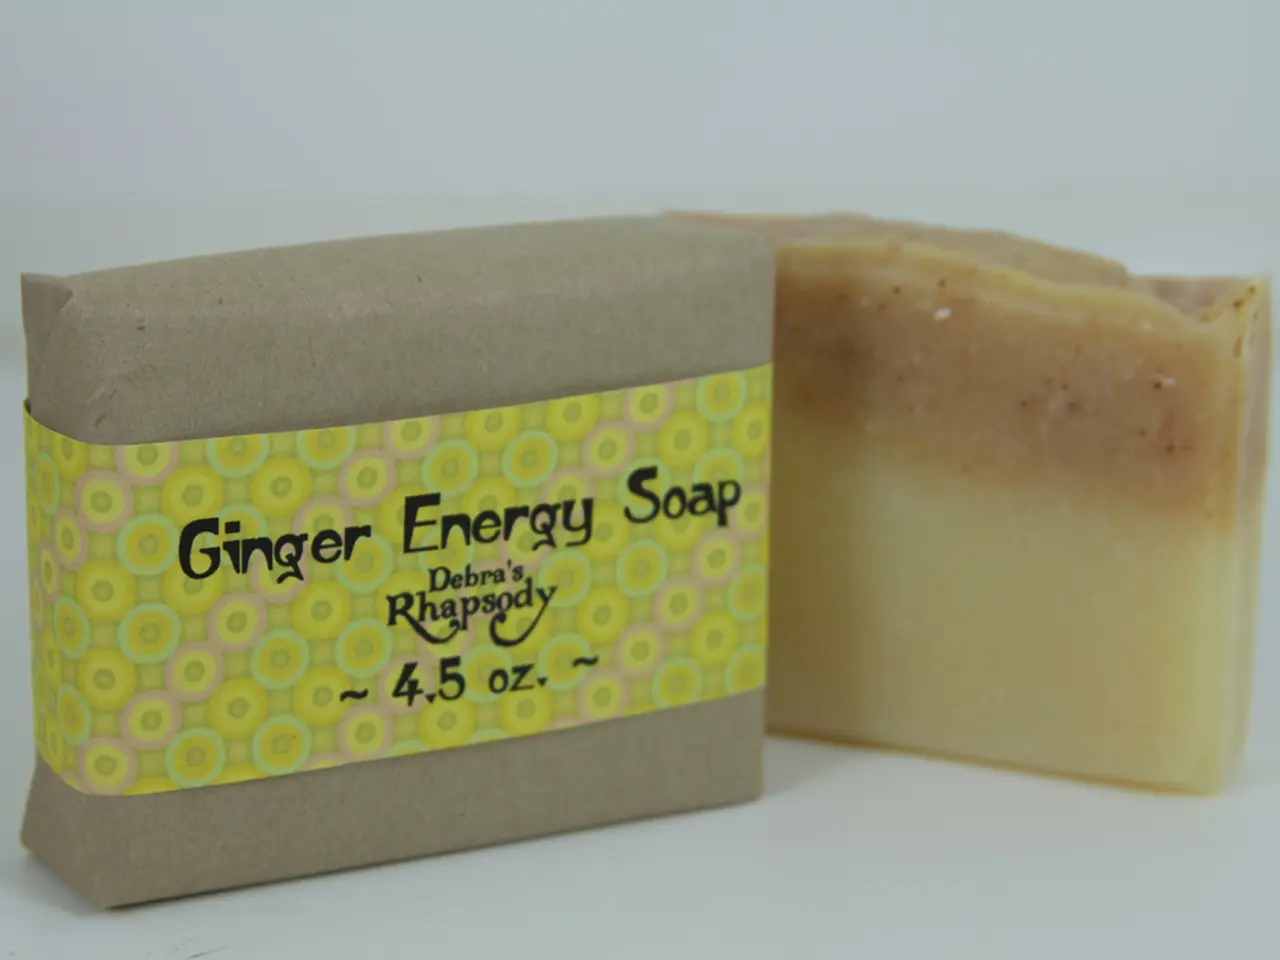
In the realm of DIY crafting, making Melt and Pour Soap has become a popular activity, and with good reason. This process is not only fun but also allows for creativity and customisation, resulting in unique and cute soap blocks that make for perfect handmade gifts or personal use. Here's a simplified guide to help you get started.
- Preparation: Start by chopping your melt and pour soap base into small cubes. This promotes even and quick melting.
- Melting the soap base: Place the cubes in a microwave-safe jug or double boiler. Heat in short bursts (20-30 seconds), stirring between each, until completely melted. Avoid boiling.
- Customisation: Once the soap base is melted, it's time to add your personal touch. Stir in any additives such as carrier oils, essential oils, and dried botanicals gently to avoid creating bubbles.
- Pouring into the silicone mold: Carefully pour the melted soap mixture into the silicone molds. This step allows for creative design and layering.
- Bubble removal: Lightly spray the surface of the poured soap with rubbing alcohol to pop any air bubbles and achieve a smooth finish.
- Setting the soap: Allow the soap to cool and harden. The setting time varies by mold size, typically 3-6 hours for small molds and up to 24 hours for larger loaf molds. To speed up the process, you can place the mold in the refrigerator after an hour.
- Unmolding the soap: Once fully solidified, gently pop the soap out of the silicone mold.
Additional tips include avoiding overheating to prevent scent loss or discoloration and wrapping the soap tightly after unmolding to prevent a sticky or sweaty layer due to atmospheric moisture.
For a 21-ounce soap mixture, approximately 20 drops of soap scent are used. The amount of soap dye to use depends on the desired color intensity; add a few drops at a time and stir. The soap base is measured by filling a mold with water and pouring it into a measuring cup.
To make your crafting experience even more enjoyable, consider investing in some useful tools. Scotch Precision Scissors, MakerX Crafting Tools, the Fiskars Paper Trimer, and the Cricut Cutting Machine are all favourites among crafters. Silicone molds, of course, are essential for this soap-making adventure.
With these steps, you now have a customizable, fragrance- and additive-infused soap bar with minimal fuss. Happy soap-making!
[1] The Soap Queen [2] Soap Crafting [3] Soap Queen TV [4] Soap Queen's Soap Crafting
- To complement your DIY handmade soaps, you may want to decorate your home with a garden-inspired lifestyle, using silicone molds that resemble plants or flowers as soap molds, enhancing the overall aesthetic appeal.
- After daily bathing, placing your customized soap bars on a unique, life-enhancing home-and-garden soap dish can extend the longevity of the soap and add an artistic touch to your bathroom space.


