Guide on Initiating a Vegetable Patch or Small Farm
Preparing Your First Allotment: A Step-by-Step Guide
For those embarking on their allotment gardening journey, tackling an overgrown plot can seem daunting. However, with the right approach, it can be a rewarding experience. Here's a practical guide to help you get started:
- Clear the Overgrowth Begin by cutting back all overgrown plants and grass to create a clean workspace. Basic tools like shears, a spade, and perhaps a brush cutter if the plot is very dense, will come in handy[2]. Remove cut vegetation to reduce competition for nutrients.
- Remove Weeds and Debris Pull out weeds by hand or hoe them out, making sure to get roots to prevent regrowth. Clear away rocks, rubbish, and dead plant material to prepare the ground[1][3].
- Enrich the Soil Spread compost or well-rotted manure over the cleared soil to improve fertility and structure. This enriches the soil, promoting healthy plant growth when you begin planting[3].
- Let the Soil Rest or Dig In Depending on timing, you can leave the soil to rest for a short period or gently dig or fork it to aerate and mix in organic matter. Avoid deep digging unless necessary, to preserve soil life[1].
- Plan Your Crops and Layout Choose easy-to-grow vegetables or plants suited to beginners and your climate. Planning helps make the most of your space and reduces early frustration[1].
- Start Small and Simple Consider starting with pots, grow bags, or small raised beds as you build confidence on your cleared plot. This can also help manage soil issues before full planting[5].
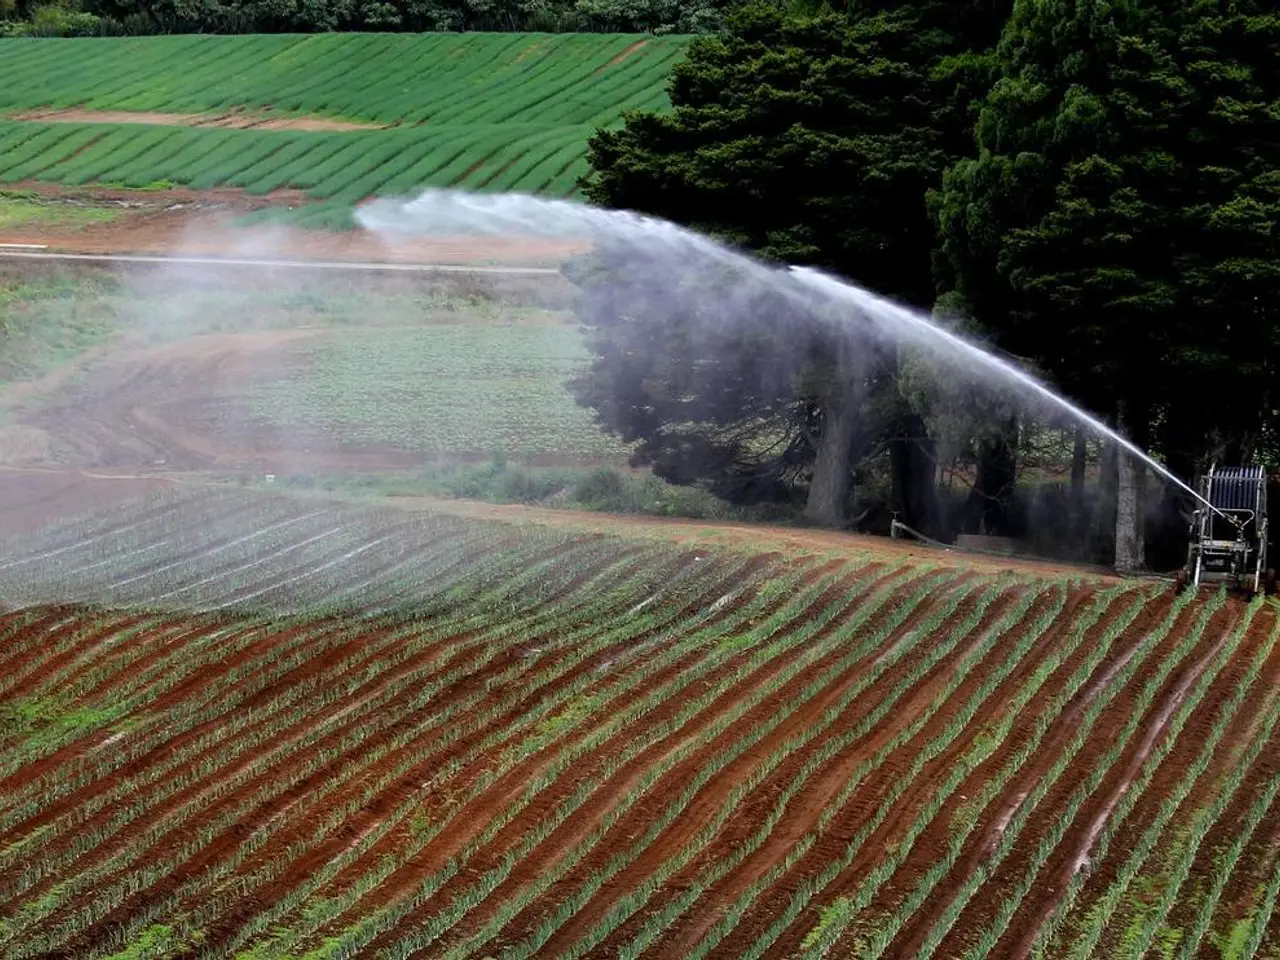
- Prioritize Sustainable Watering Set up efficient watering practices early to conserve water and maintain healthy plants, especially in dry spells[1].
- Prepare Your Paths Allotment paths can be made from mown grass, wood chippings, weed-suppressant membrane, or repurposed paving slabs. Ensure paths are wide enough for a wheelbarrow and positioned in the center of the plot for easy access[6].
- Consider Long-Term Solutions Covering the grass with a thick layer of cardboard or weed-suppressant membrane can help kill it off. Leaving the cover on for at least two years can kill the root system[7]. Alternatively, building raised beds or growing crops directly in the ground are options after soil preparation[8].
- Continuous Improvement To maintain a healthy allotment, it's essential to keep on top of weeds and maintain the soil. Regularly adding organic matter and ensuring good drainage will help your plot thrive[1].
Remember, it's crucial to check the rules about planting trees, keeping bees, erecting greenhouses or polytunnels, and having a fire before making any permanent changes to your allotment[9]. With patience, persistence, and a little bit of know-how, your allotment can become a productive and enjoyable space. Happy gardening!
[1] RHS [2] Garden Organic [3] Garden Myths [4] Permaculture [5] Gardeners' World [6] RHS [7] Garden Organic [8] RHS [9] National Allotment Society
In the process of transforming your allotment into a productive and enjoyable space, you might opt for home-and-garden solutions such as raised beds to simplify the gardening lifestyle, especially if you're starting with small-scale planting. Additionally, as you develop your green thumb and gain confidence in handling your allotment, incorporating sustainable practices like efficient watering and enriching the soil will contribute significantly to the success of your home-and-garden endeavors.


